
Winter can expose small problems that were easy to overlook during warmer months. A loose shingle, drafty window, or damaged board might seem manageable in mild weather, but colder temperatures, wind, and moisture can make everyday discomfort harder to ignore.
A useful seasonal plan looks beyond the heating system. Your roof, windows, doors, siding, and outdoor spaces all affect how well your home handles changing weather. Some projects call for prompt repairs, while others simply need an inspection or a realistic plan for future improvements. The goal isn’t to replace everything at once. It’s to understand which areas need attention, protect vulnerable materials, and prioritize the work that matters most for your particular home.
Start With a Thorough Roof Inspection
Your roof faces direct exposure to rain, wind, and, in colder regions, snow and ice. Before winter arrives, walk around your property and look for missing shingles, displaced flashing, sagging gutters, or debris collecting in roof valleys. You can also check the attic for staining, damp insulation, or signs of daylight around penetrations.
If you’re considering repairs or replacement, request a roof estimate that explains the proposed scope. Ask whether the contractor has identified a localized problem or a broader pattern of wear. A useful estimate should clarify what materials and labor are included, how damaged decking would be handled if discovered, and whether cleanup and disposal are covered. Comparing the details is more informative than comparing a single total.
Pay attention to drainage as well. Leaves and other debris can block gutters and downspouts, allowing water to collect where it shouldn’t. Clear accessible debris using safe methods, and have a professional address areas that require working at height. Where freezing weather occurs, drainage problems can also contribute to slippery surfaces and ice buildup.
Avoid climbing onto a steep, wet, or icy roof to investigate a suspected problem. A qualified roofer can inspect difficult areas and explain what needs immediate attention, what can be monitored, and what might reasonably wait until a larger project is planned.

Address Flat Roof Vulnerabilities Early
Flat and low-slope roofs have different drainage and detailing needs from steeply pitched roofs. Water should move toward designed drains or scuppers, but leaves, dirt, or damaged components may interfere with that path. Ponding after rainfall, recurring interior stains, open seams, and visible membrane damage are all reasons to request a closer assessment before winter weather complicates access.
A flat roofing company can evaluate the roof system as a whole rather than treating each visible symptom in isolation. Ask the contractor to check drains, flashing at walls and equipment, seams, penetrations, and the condition of any protective surface. The appropriate solution depends on the existing material and the cause of the problem. A small repair may be suitable for one roof, while widespread deterioration may call for a larger discussion.
If the building has rooftop equipment, coordinate roofing work with any planned equipment maintenance. Foot traffic, tools, and service activity can affect vulnerable roof surfaces, so access routes and protective measures deserve attention.
It is also worth asking how proposed work will be affected by temperature and moisture. Some materials have installation requirements that limit when they can be applied. Scheduling an assessment early gives you room to discuss safe, manufacturer-appropriate options instead of assuming that every repair can be completed under any conditions.
Repair Roof Damage Before It Spreads
Not every roofing issue requires a full replacement. A damaged shingle, failed seal around a penetration, or loose section of flashing may be addressed through targeted roof repair when the surrounding system is still serviceable. The important first step is finding the source of the problem. Water can travel along framing or under roofing materials before appearing on an interior ceiling, so the visible stain may not sit directly beneath the entry point.
Make a note of when a leak appears and what the weather was doing at the time. Photographs of new stains or visible exterior changes can help a contractor understand the pattern. If water is actively entering the home, protect belongings and contact a professional promptly. Do not attempt electrical work or enter an area with a compromised ceiling or unsafe conditions.
Ask for an explanation of the repair method and any limitations. Will damaged materials be removed and replaced? Does adjacent flashing need attention? Is the roof nearing a point where repeated patching may become less practical? A clear discussion can help you weigh a repair against a more extensive project without assuming that either choice is always correct.
After work is completed, save the invoice, photographs, and any warranty information. Documentation makes future inspections easier, particularly if a different contractor evaluates the roof later. Addressing damage early is less about achieving a perfect roof overnight and more about keeping a manageable problem from becoming an emergency during poor weather.

Check Windows for Drafts and Moisture
Windows can affect comfort long before a pane actually breaks. Feel for drafts around closed sashes on a windy day, look for deteriorated weatherstripping, and note any trouble opening, closing, or locking a window. Check surrounding trim and walls for staining or soft areas that might suggest moisture intrusion. Condensation on the room-side surface can have several causes, so observe when and where it develops rather than assuming the glass itself has failed.
Persistent fog or moisture trapped between the panes of an insulated glass unit can indicate a failed edge seal. Ask a professional whether double pane window repairs are possible for the specific unit. Depending on the construction and condition of the frame, an insulated glass unit may be replaceable without replacing the entire window. Other situations may justify a broader replacement, especially when frames are damaged or operation is poor.
When comparing local window contractors, describe each window’s symptoms and ask how they diagnose air leaks, glass failures, and installation problems. A careful assessment should distinguish a problem with the glazing from gaps around the frame or surrounding wall. If replacement is recommended, discuss measurements, installation details, interior and exterior finishing, and how the openings will be protected during the work.
Avoid sealing over drainage openings built into the window. Addressing the actual source of a draft or leak helps you spend money where it will make a meaningful difference.
Make Exterior Doors Close and Seal Properly
A door that sticks in humid weather may become even more frustrating as temperatures shift. Before winter, test exterior doors for smooth movement, a reliable latch, and an even seal around the frame. Look for daylight at the edges, damaged sweeps, cracked weatherstripping, and soft or deteriorated material near the threshold. Check storm doors, if present, for secure hardware and proper closing as well.
Not every gap requires a new door. Sometimes the issue is worn weatherstripping, a misaligned strike plate, or a threshold that needs adjustment. A door company can inspect the opening and explain whether a focused repair, component replacement, or new unit makes sense. If you’re considering replacement, ask how the installer will address the sill, flashing, and surrounding trim, not just the door slab. Water management at the opening is as important as appearance.
Think about everyday use when discussing options. Entry doors should operate comfortably for household members, close securely, and suit the exposure of the location. A door that receives wind-driven rain or direct sun may face different conditions from one sheltered by a porch. Materials, glazing, and hardware should be considered in that context rather than selected solely from a showroom display.
If work will be scheduled during colder weather, ask how the contractor plans to limit the time the opening is exposed.
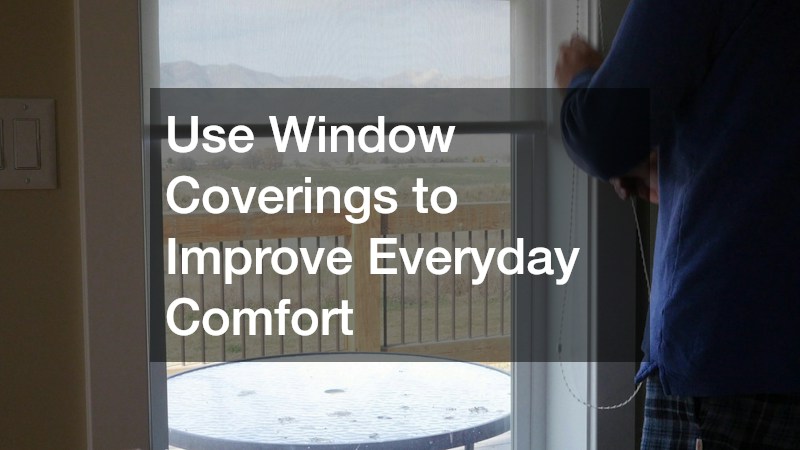
Use Window Coverings to Improve Everyday Comfort
Once your windows are in good working order, consider what happens inside the room. A south-facing space might receive welcome daylight on a cold afternoon, while a bedroom may need privacy and better control over glare. Curtains, shades, and blinds can help you adapt each space to its actual use. They aren’t substitutes for repairing a leaking window, but thoughtful coverings can make rooms feel more comfortable.
Professional window treatment services can help with measurements, mounting options, fabric choices, and operation. Discuss whether you need easy access to handles, clearance around radiators or vents, or a treatment that works with unusually shaped windows.
Layering may be useful in some rooms. For example, a privacy shade paired with curtains can give you more flexibility throughout the day. If you’re interested in cellular shades or lined drapery, ask about the product’s documented performance and the conditions in which it was tested. Results vary with installation, window type, and how consistently coverings are used, so avoid treating any fabric as a guaranteed solution to high heating bills.
Safety should remain part of the selection process. Choose cordless or otherwise appropriately designed products where children or pets may access hanging cords, and follow current product guidance. Keep coverings clear of heaters and other heat sources. The right treatment balances appearance, practical use, and the particular needs of the room without hiding a window problem that still requires professional attention.
Inspect Siding and Exterior Trim
Siding helps manage weather exposure, but the details around it matter just as much as the panels themselves. Walk around your home and look for loose sections, cracks, gaps at joints, and staining beneath windows or roof edges. Pay special attention to areas where siding meets trim, decks, and utility penetrations. These transitions can reveal where water is entering or where sealants and other components may need evaluation.
If you notice widespread fading, warping, or recurring damage, ask siding contractors to assess the underlying cause before discussing vinyl siding replacements. A panel may have been damaged by an isolated impact, while repeated moisture problems may point to flashing or wall assembly concerns. Replacing visible material without addressing the reason it failed can leave the original problem unresolved.
Ask contractors to explain the proposed scope, including removal, inspection of exposed areas, moisture management, trim, and disposal. Discuss how any damaged sheathing would be identified and handled if it becomes visible during the project. Product choices should also account for your home’s design, local conditions, and the installation instructions for the selected system. No siding material eliminates the need for good detailing.
Exterior trim deserves its own look. Peeling paint, open joints, and soft wood around doors or windows may need attention even when adjacent siding appears sound. Before freezing temperatures arrive, a methodical exterior check can help you identify which concerns are cosmetic and which warrant a closer professional inspection.

Prepare Decks and Outdoor Areas for Winter
Decks may see less use in winter, but they still face moisture, changing temperatures, and, in some places, snow loads. Inspect accessible boards for splinters, decay, unusual movement, and raised fasteners. Check stairs and railings for looseness, and look at the connections between the deck and the house for visible deterioration. If the structure feels unstable or you suspect serious damage, stop using it until a qualified professional can evaluate it.
For a planned renovation, compare decking materials based on maintenance, slip resistance, appearance, and compatibility with the supporting structure. Wood and composite products have different care and installation requirements; neither should be treated as maintenance-free. Ask about spacing, ventilation, fasteners, and manufacturer instructions, particularly when replacing deck boards on an existing frame. New surfaces cannot correct a weakened structure underneath them.
Remove leaves and debris that trap moisture, and clean the surface using methods recommended for its material. Move planters or furniture when practical so you can inspect the areas beneath them. Take care not to block drainage paths near the house while rearranging outdoor storage.
Finally, make an actionable schedule. Separate urgent safety concerns from maintenance you can handle now and upgrades that can wait for a more suitable season. Share photographs and notes with the appropriate professionals, request written scopes, and allow time for weather-dependent work. Winter preparation doesn’t require a complete exterior makeover; it requires a clear view of your home’s condition and a sensible plan to protect it.
About the Author